


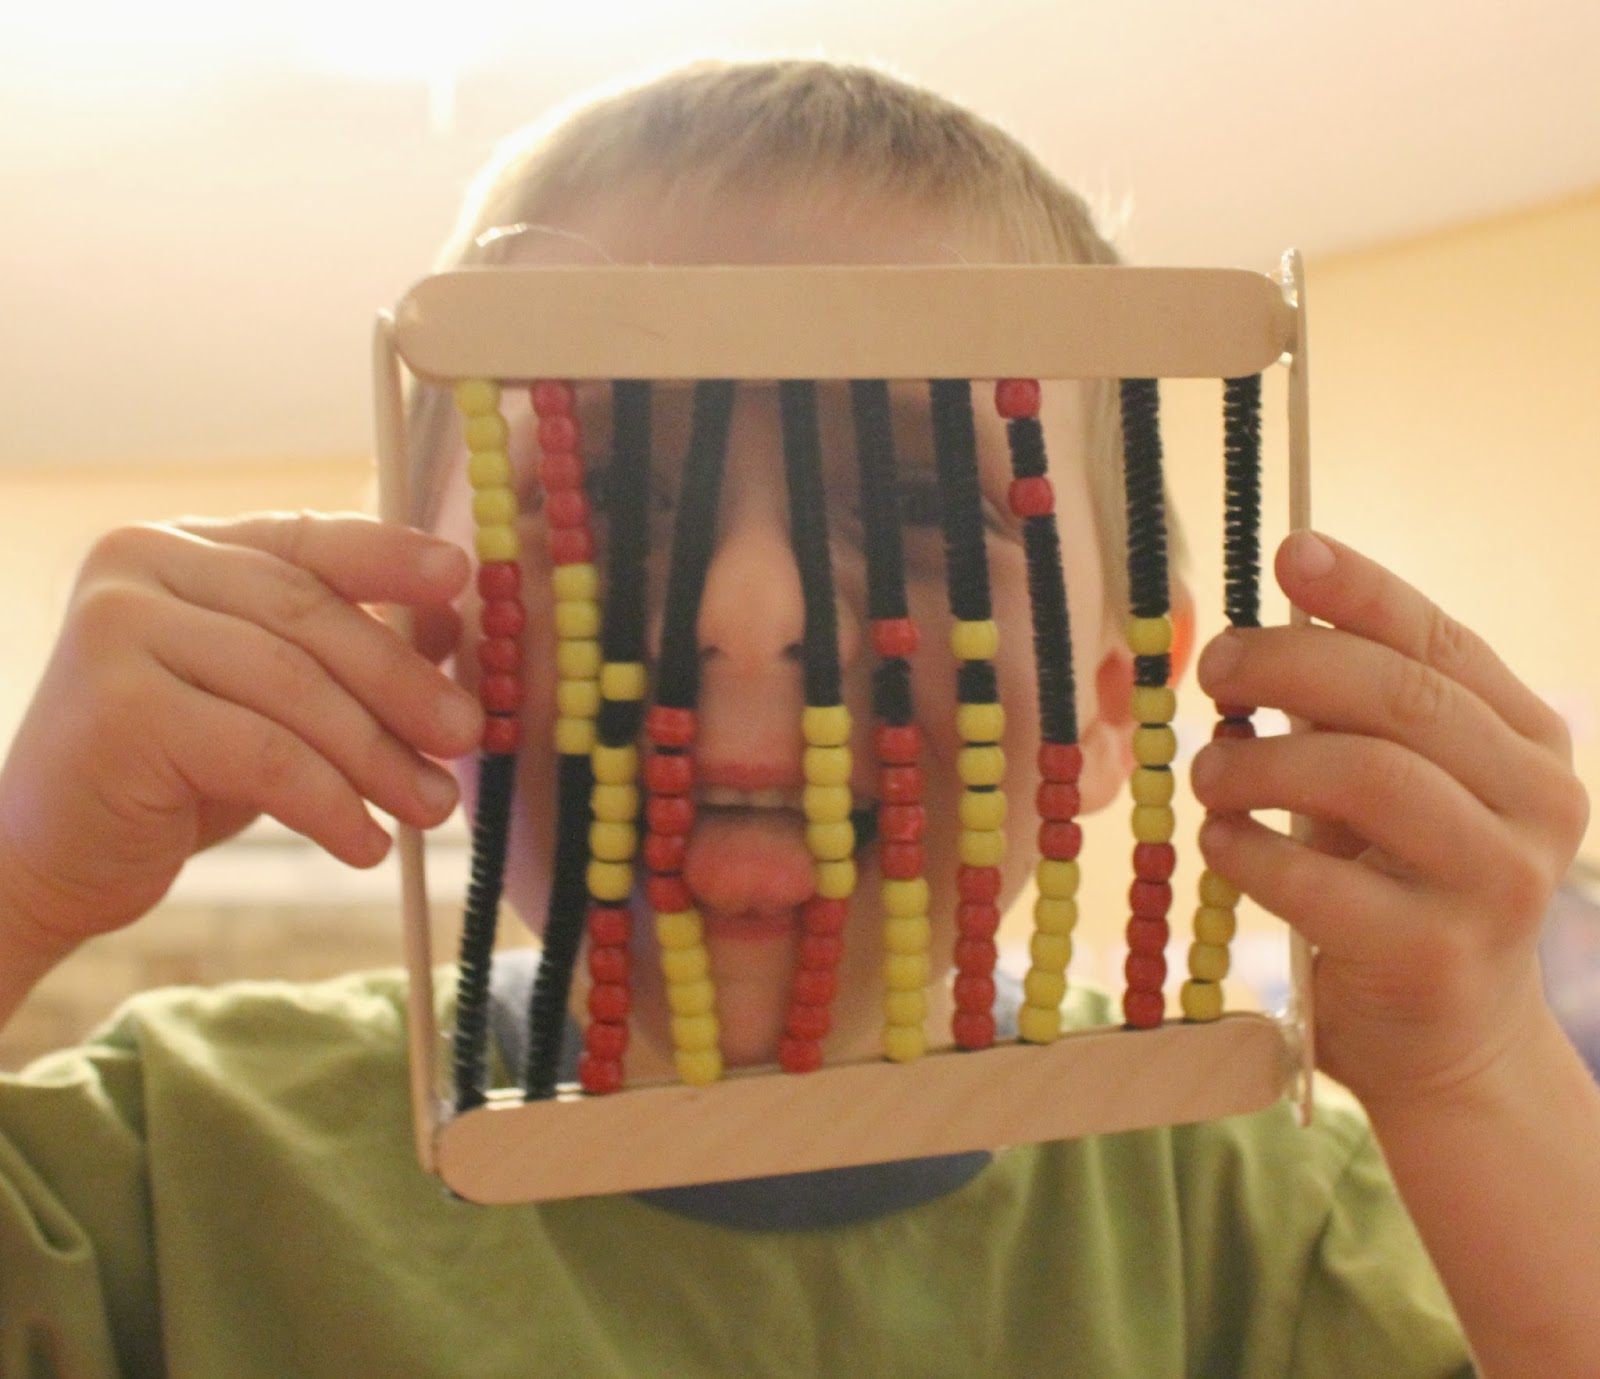
Hey friends! I am so excited to link up to the Bright Ideas Hop for March. Today I'm going to share how to make your own DIY abacus!

Hehe -- an abacus is perfect for sticking your nose through... :)

....and maybe even your tongue... :)

What's an abacus?
An abacus is a great, yet simple counting tool. You can use it to teach your students about 1-1 correspondence, counting, skip counting, addition, subtraction, and even place value. Well actually, it can even be used for teaching multiplication and division in the upper grades. There really are so many possible uses.

1. Addition. 3 yellow + 2 red= 5

2. Compose/Decompose to 10. 5+5=10 and 10-5=5

3. Place Value (numbers great than 10). 1 red stands for ten and 2 yellows stand for ones... This number is 12.

4.This would be 37. On the second row, kids will learn that when all the yellow or red are together they represent 5, plus the 2 red equals 7. Great way to subitize!

5. And for early kinder and pre-k kids, simply counting and moving over 1 bead each time you count a number is wonderful practice. 1 (move a bead), 2 (move a bead), 3 (move a bead), etc.
I now homeschool my children and I don't have the fancy ones that my school purchased, so I made some. They are easy to make and a great weekend project. FYI** You will see that my children helped me make our abacuses, but I do not advise doing this with young students at school. This is a fantastic project for you to make for your class. :)
Materials:

*craft sticks
*chenille sticks
*hot glue
*2 different colored beads
*scissors
How To:
1. Get 5 chenille sticks. Fold them in half and cut. That will give you 10 smaller sticks.


3. Place 10 beads on each chenille stick. I like placing 5 of one color and 5 of another color (so they can easily spot 5 on each line), but you can do patterns or even random beads. Your choice.


Reagan was so careful counting each bead. He wanted to make sure he made his abacus correctly!

This is my 13 year old daughter Bailey. Yes... I do participate in child labor.. Ssshhhh!!!
Don't tell anyone! ;)

Here, all the beads are on. Now, we just have to make a sandwich on the other end.


5. Notice I hot glued another craft stick on top and on bottom to make a stand/frame that really helped make my abacus more sturdy.
Well, there ya go! I hope you enjoy this BRIGHT IDEA!!! I highly encourage you to use abacuses in your primary classroom. They are amazing little math tools that pack one powerful punch!
What Now??
Next up on the blog hop is Jennifer from Simply Kinder. Jennifer has an great post for you all about positive discipline! Just click on the button below to check it out!

I love the way you broke down all of the steps to create these manipulatives! :) Thank you for sharing!
ReplyDeleteHello Mrs Sykes
This is such a great idea! Thank you so much! :)
ReplyDelete…andtheyallfalldown...
thanks for this great tip
ReplyDeleteI am so making a whole class set of these this summer! Thank you for this super fun idea! They will work so well with my math journals!
ReplyDelete